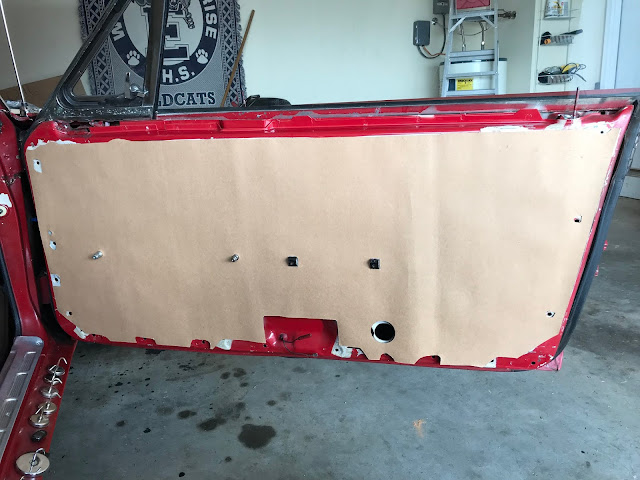
The passenger side door now has only one seal left to install. Its the small seal that fits on the outside edge of the vent window. It fits in between the door and vent frame, its about 8" long, about 1/8 wide. To install that will require removal of the vent window frame assembly(not doing that right now).
I also installed the driver side front floor panel cover with insulation. Tomorrow I will install the back seat pieces and then I should be able to start driving The Merc.
 |
| Replacement front panel. It doesnt have holes pre-drilled for installation. These fit very well. |
 |
| OEM panel, little bit of wear and tear. Didn't realize it had that much overspray... |
 |
| Replacement door lock /panel grommets...They fit but not as good as originial. They do take care of the noise the door lock knob was causing. |
 |
| Top piece of pinch weld cover is new, bottom is OEM. Found out while removing the driver side pinch welding that I had already replaced it recently, so now I have a spare piece. |
 |
| Heres the vapor barrier installed. I used a sealer that was recommended for this type of installation. |
 |
| This is the vapor barrier adhesive that I used. It remains soft and pliable without running/sagging. |
 |
| Door panel, moments from installation |
 |
| Panel installed! Two seals are left to be installed on this door. Might do them this summer... |

