Search This Blog

Monday, September 28, 2015

28 Sept 2015 - Exterior images of 67 Cougar


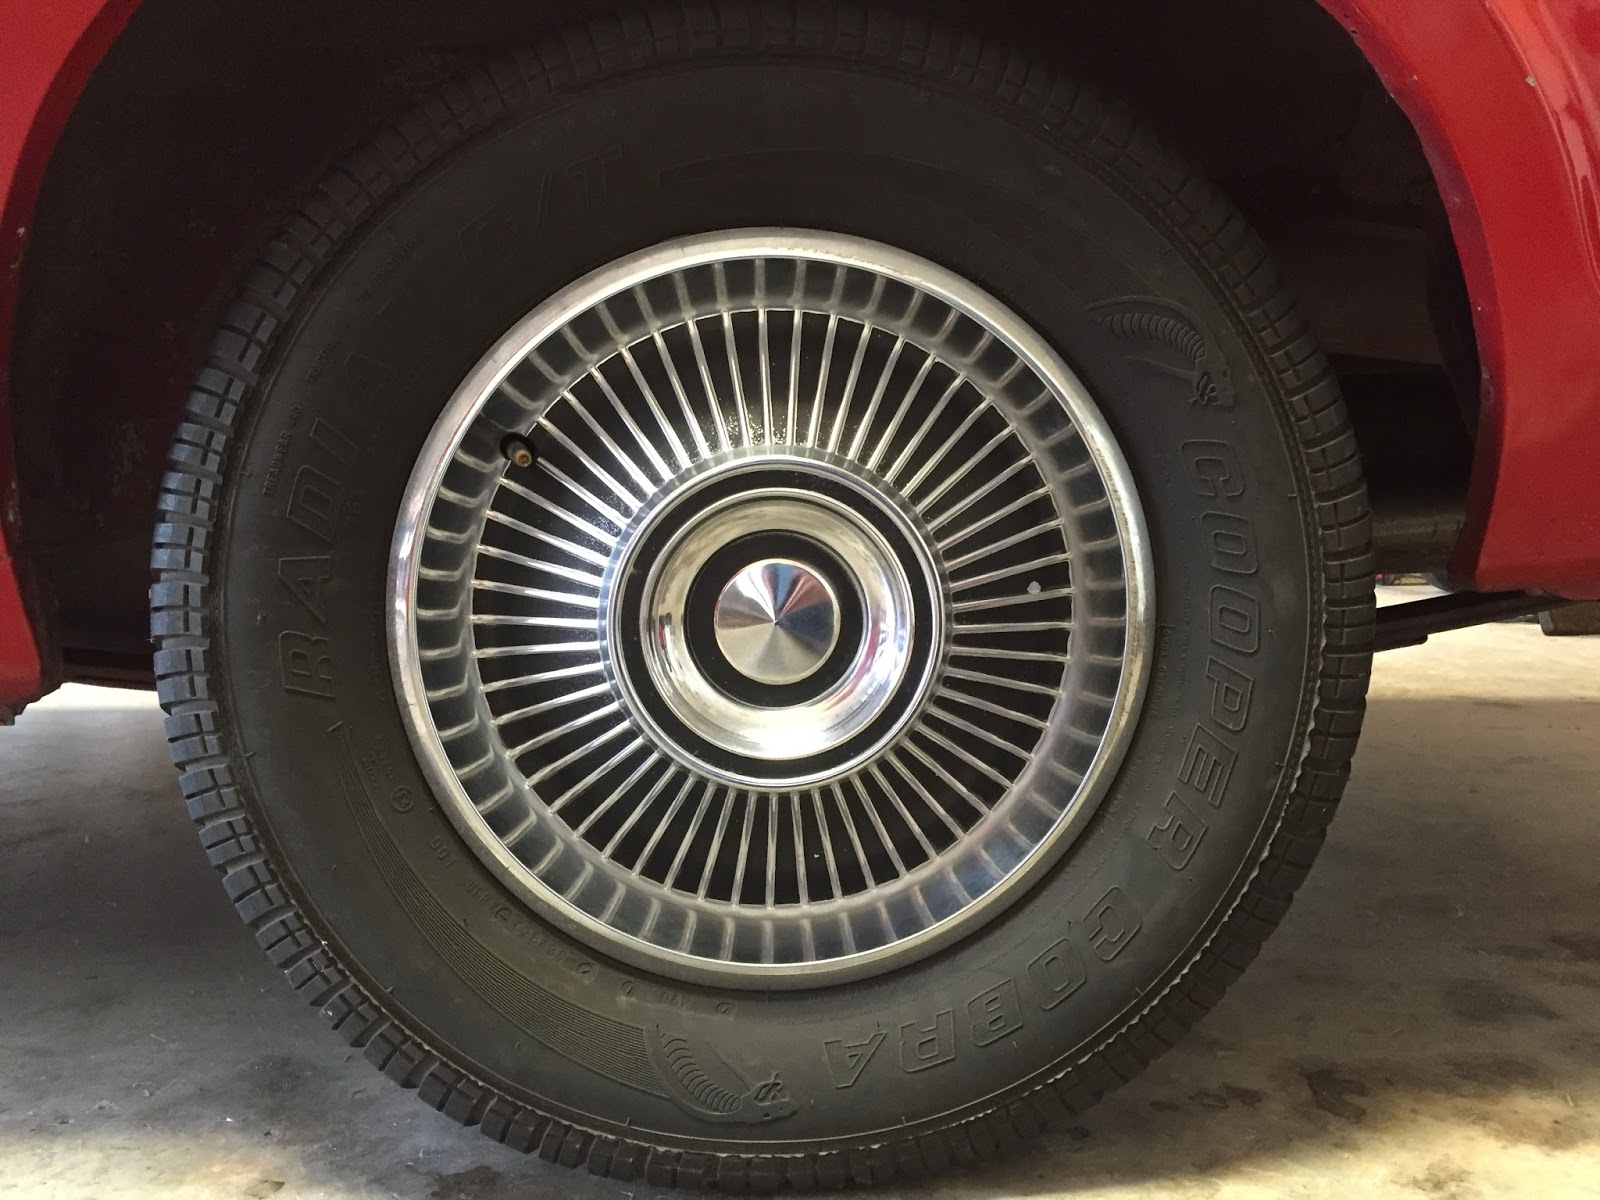
Driver side Rear Wheel cover

3/4 Rear view
3/4 Rear View


ToDo

• Passenger side wheel cylinders front and rear

• brake flex hose passenger side front

• remove recently installed choke  cable(really not working out)

• come up with something to cover battery cable terminals when not installed on battery so they wont damage engine bay area

• need to buy a spare tire and rim for the trunk

• check cabling / wiring for wear and tear to prevent electrical shorts

• antifreeze replacement

• engine oil and filter replacement

• replace master cylinder

• rear axle fluid replacement

Saturday, September 26, 2015

26 Sept 2015 - Manual Choke cable installtion

Installed a manual choke cable.  Hopefully that will help with easier starting, if not it will be removed and I'll continue to warm up the car the hard way!

Took  the cougar for spin around the block.  Recorded a short video of the engine running.  The engine was cold in the beginning of the video so the engine stumbled a bit when in gear.  After warming up a few minutes it ran good.

Heres a link to the video of the engine running

https://youtu.be/lxGYVzHH4Ec


Sunday, September 20, 2015

20 September 2015 - Spark Plug Check

Removed and cleaned all plugs.  Plugs look like engine is a little rich.  I'll check again next time I run the engine for a bit.  Need to set timing and make final idle speed and idle mixture settings.

Check front brake installations for leaks.

Pick up another choke cable and cut to correct length!

Saturday, September 19, 2015

19 September 2015 - Second Carb overhaul is a success

Removed the carb yesterday and disassembled and cleaned it for the second time.  Cleaned everything up and let it sit overnight.  Today bought a 37-119 rebuild kit and replaced the components with those from the kit.  Adjusted idle speed and mixture screws so it would at least idle.  Adjusted the floats too.  Started the engine today and it idled ok and was driveable!!!!  I was able to put it in gear without it stalling.  The surges that were happening before the rebuild are gone.  Now the final idle mixture settings need to be completed, the float levels need to be checked, the idle speed needs to be checked as well.  Also the timing must be done too.  But as of now the engine is running does not stall in gear.  The fuel gauge isn't working so a sender needs to be replaced.

At idle the engine runs rich enough to smell gas in the exhaust.  After warming up for a few minutes, idle is good, engine does not stumble or stall at idle or in gear.  Need to check the plugs for fouling.

Washed the car to prep it for cleaning the paint again with "color back".

Thursday, September 17, 2015

Carb Check

Removed the carb to re-check previous adjustments.  Ended up adjusting the main throttle plates to specs as well as adjusting the secondary throttle plates to specs.  Also adjusted the idle mixture screws to 1 1/2 turns out.

Wednesday, September 16, 2015

Driver side front brake

Installed hub with new races and bearings.  Torqued to specs.

Bled the front brakes.  

Need to adjust the brake shoes before moving car.

Need to check everything tomorrow afternoon.

Pickup a front brake flex hose to use for the passenger side.

Tuesday, September 15, 2015

Saturday, September 12, 2015

ToDo List

Things I need to work on before getting back on the road...


* rebuild / replace front and rear brakes(replace wheel cylinders, brake lines, brake hoses..).  May need to replace master cylinder.

* carburetor - baseline the carb to get it functional/driveable(already used a rebuild kit to replace what could be replaced from the kit.  But the engine surges from idle.  Need to check throttle plate position in reference to idle transfer slots, start over with idle screws, check floats again.)

* Suspension - check/replace front end ball joints, tie rod ends, idle arm, pitman arm..

* Wheel bearings - replace front wheel bearings, both sides

* rear axle - replace gear fluid

* engine coolant - replace coolant completely

*  windshield washer reservoir - replace fluid, replace rubber tubing end to end

 * fuel tank - fuel sender does not appear to be working, replace it.

* steering - its "loose", tighten up( see other items that may fix this)

Friday, September 11, 2015

Driver side Front wheel cylinder Replacement

The driver side front wheel has been locking up.  So I bought a replacement wheel cylinder to install.  During the installation I could not get the wheel cylinder seperated from the brake hose.  I ended up buying a replacment brake hose.  Since I am working on that side I went a head and bought inner and outer bearings, and will replace those as well.


Driver Side Front - Reference image
Driver side front brake - I was unable to seperate the hose from the wheel cylinder.  I ended up buying a replacement hose so I will just replace both components.

Driver side front brake - This is the mounting point for the brake hose.


While removing the front driver side wheel I had difficulty removing the hub.  I was unable to adjust the brake shoes inward.  The auto adjuster was rusted and would not rotate. I had to slowly work the wheel hub assembly loose then off.  I decided that  I would replace the wheel bearings at this point.  I removed the brake hardware and cleaned it up.  The shoes seem ok so I will re-use them.

Driver side front - hardware layed out and cleaned up a bit.

drive side front - at look at the inner bearing and rubber seal
The replacement driver side front wheel cylinder


12 Sept 2015


Started working on the driver side front brakes.  Replaced the wheel cylinder and flex hose.


Driver side front brake after replacing wheel cylinder and flex hose.


Frame location of flex hosing mount, replacement flex hose installed.


Wheel cylinder view of flex hose
Driver side front new brake hose installed


Driver side front new brake hose installed


The brake shoes and hardware went back together without trouble.  The flex hose was pretty easy to remove on this side(see how it goes with the other side).


Started working on removing the wheel bearing races and seal of the front brake drum.  the outer race was pretty easy to remove but I was unable to remove the inner race.  So I will take it to a automotive maintenance shop and have them remove the races and re-install new ones.

Carb re-check

Need to check - idle transfer slots, make sure throttle plate position makes a square out of lower idle transfer slot area.  Need to remove carb and invert to check it properly.

Troubleshooting the carb

10 September 2015

Removed the driver side plugs.  Plug 5 was fouled abit, cleaned it up.  Plugs 6,7,8 were okay, just cleaned them a bit.  Re-installed them.  Did not check plugs 1 - 4.  Will do that on the 11th.


Monday, September 7, 2015

Working on the Merc


8/29/2015
Resolved carb flooding issue - fuel bowl floats were adjusted too high.
Still need to properly adjust floats for improved idle.

Brakes don't seem to work very well.  Bled all cylinders, need to recheck.

replaced the bleeder screws on front brakes

discovered driver side front wheel cylinder needs replacing and driver side
rear wheel cylinder leaks.

Battery was replaced 8/28/205.

1 Sept 2015
Changed oil and filter.

fired up the beast after the oil change and ran engine
until operating temp, thermostat opened and settled at 180 degrees
oil press and engine coolant temp stayed constant at proper levels

Carb surges, need to take it apart and check out internals.

4 September 2015
removed carb, disasembled and checked floats and idle passages...
re-installed carb and adjusted idle screws 3 turns out, now it doesnt die, it seems
to idle much better...may need to adjust timing

5 September 2015

To troubleshoot the carb surging and the idle problems, I disconnected and plugged all vacuume connections.

5,6,7 September 2015
used Turtle Wax brand "Color back" to clean up paint on entire car.

7 September
replaced driver side rear wheel cylinder, bled the wheel cylinder.


Reference photo of the booster

View from a different angle
 
3/4 view of engine bay

Passenger side view of engine bay

Passenger side view of engine bay

Already applied a coat of color back and removed it.

View of part of the front fender and the driver side door, did not apply the color back yet to the door.

Side view of the panel after applying the color back two times.

3/4 view of the areas not done.

Difficult to tell, but the entire driver side , roof and trunk have had color back applied two times.

At this point the hood is all that is left.  Here is before color back...

Here is after a couple of times with color back

Front view before

Front view after...

Starting working on the headlight panels.  Driver side done, passenger side untouched

Before color back...

After color back...


Random pic


Reference image, driver side rear brake assembly

Reference image, driver side rear brake assembly, auto brake adjuster mechanism and spring

Reference image, driver side rear brake assembly, auto brake adjuster mechanism and spring