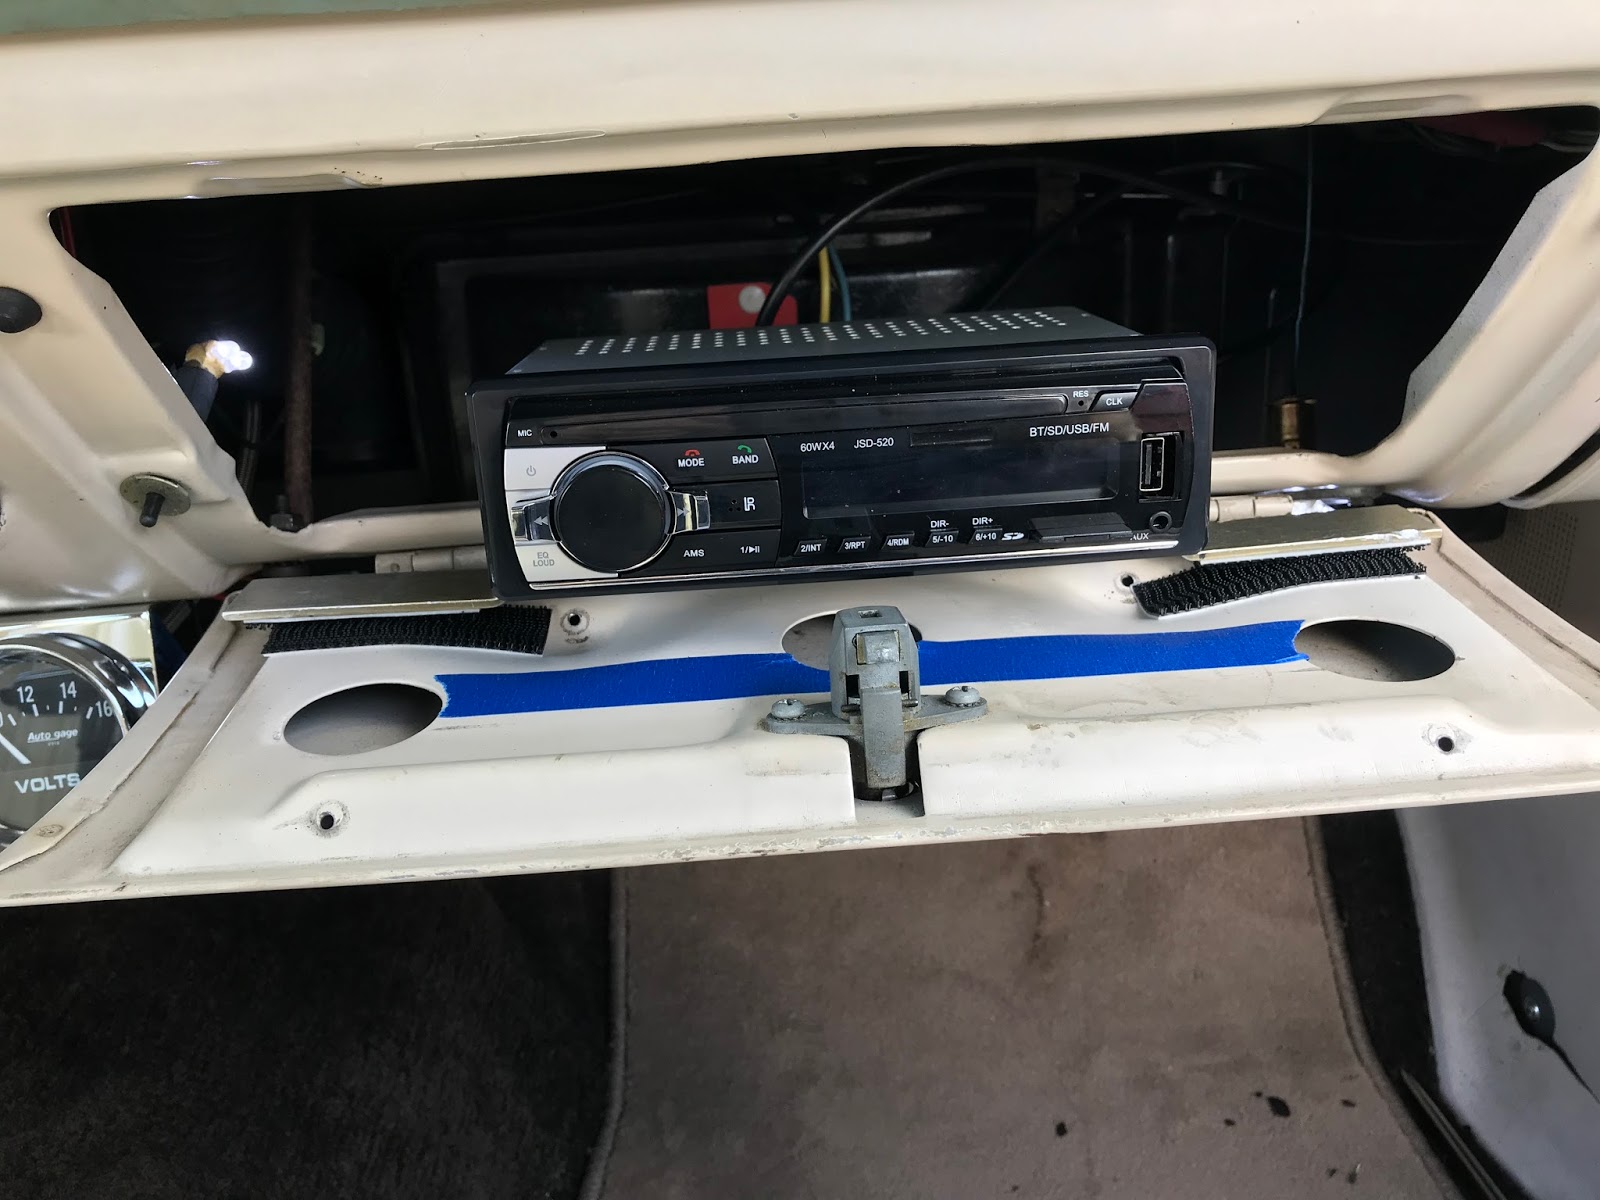
Although on the 14th I installed the radio in a mostly permenant location, I wasn't quite satisified with the layout.
Today I decided to start working on a more permenant solution.
I cut a 12"x6" piece of aluminum and mounted it to the top of the glovebox opening. There were already two mounting holes. So I mounted the plate at those two points. In the upper dash area behind the glovebox area there is a mounting point for the wire loom. It just so happens to have two holes and one was unused. In the unused spot I installed an L bracket that connects to the 12"x6" plate providing a very sturdy mount.
I had to cut a 1" deep by 1 9/16" section out of the plate so that the glovebox door could properly close and latch.
Now that I have that plate cut and installed I can work on a way to mount the radio to that plate.
Radio dimensions;
4" 3/4" deep by 7" wide.
Search This Blog
Sunday, April 15, 2018
Saturday, April 14, 2018
14 April 2018 - Radio Installation
Re-installed the radio, and back in the glovebox. This time around I installed a memory backup wire from the battery to the radio. I also secured and covered all radio wires under the dash. The way I used to have this radio wired was that when the keyswitch is off it would loose memory and I would have to set the clock and FM stations. Now its properly wired and seems to be working good.
If I leave the radio in the glovebox I think I will install a plate then install the radio into that to be more stable/secure.
13 April 2018 - wiring harness/ignition coil/starter solenoid/ignition switch checks
The other day the car completely shutdown as if the keyswitch was turned off, while taking a hard left turn. So I checked connections all throughout the ignition system, the ignition coil, ignition box, starter solenoid, ignition switch. Everything looked good, voltages checked good as well. Dunno where the problem is at this point...
Wednesday, April 11, 2018
11 April 2018 - Holley Carb - possible lean jetting
Today I swapped out the stock primary 66 jets and installed 68s. World of difference, I was able to adjust the idle, and the idle is much better, low to mid range acceleration is now smooth, no more stumble/miss. The idle mixture screws are set to a bit more than 1 1/4 turns.
The 10 minute test drive went well, will continue to monitor this recent jetting change.
Tuesday, April 10, 2018
10 April 2018 - Holley Carb - spark plugs have white on plug tips
I adjusted the idle mixture for a richer mix but thats only on the idle circuit. It looks like I will need to go up a jet size or two to resolve the white plug issue. Currently the carb has 66 primary jets, so I will install 68 size jets, re-cal the idle mixture and then recheck the plugs. Hoping to get that done on the 11th of April, 2018.
10 April 2018 - Radio installation
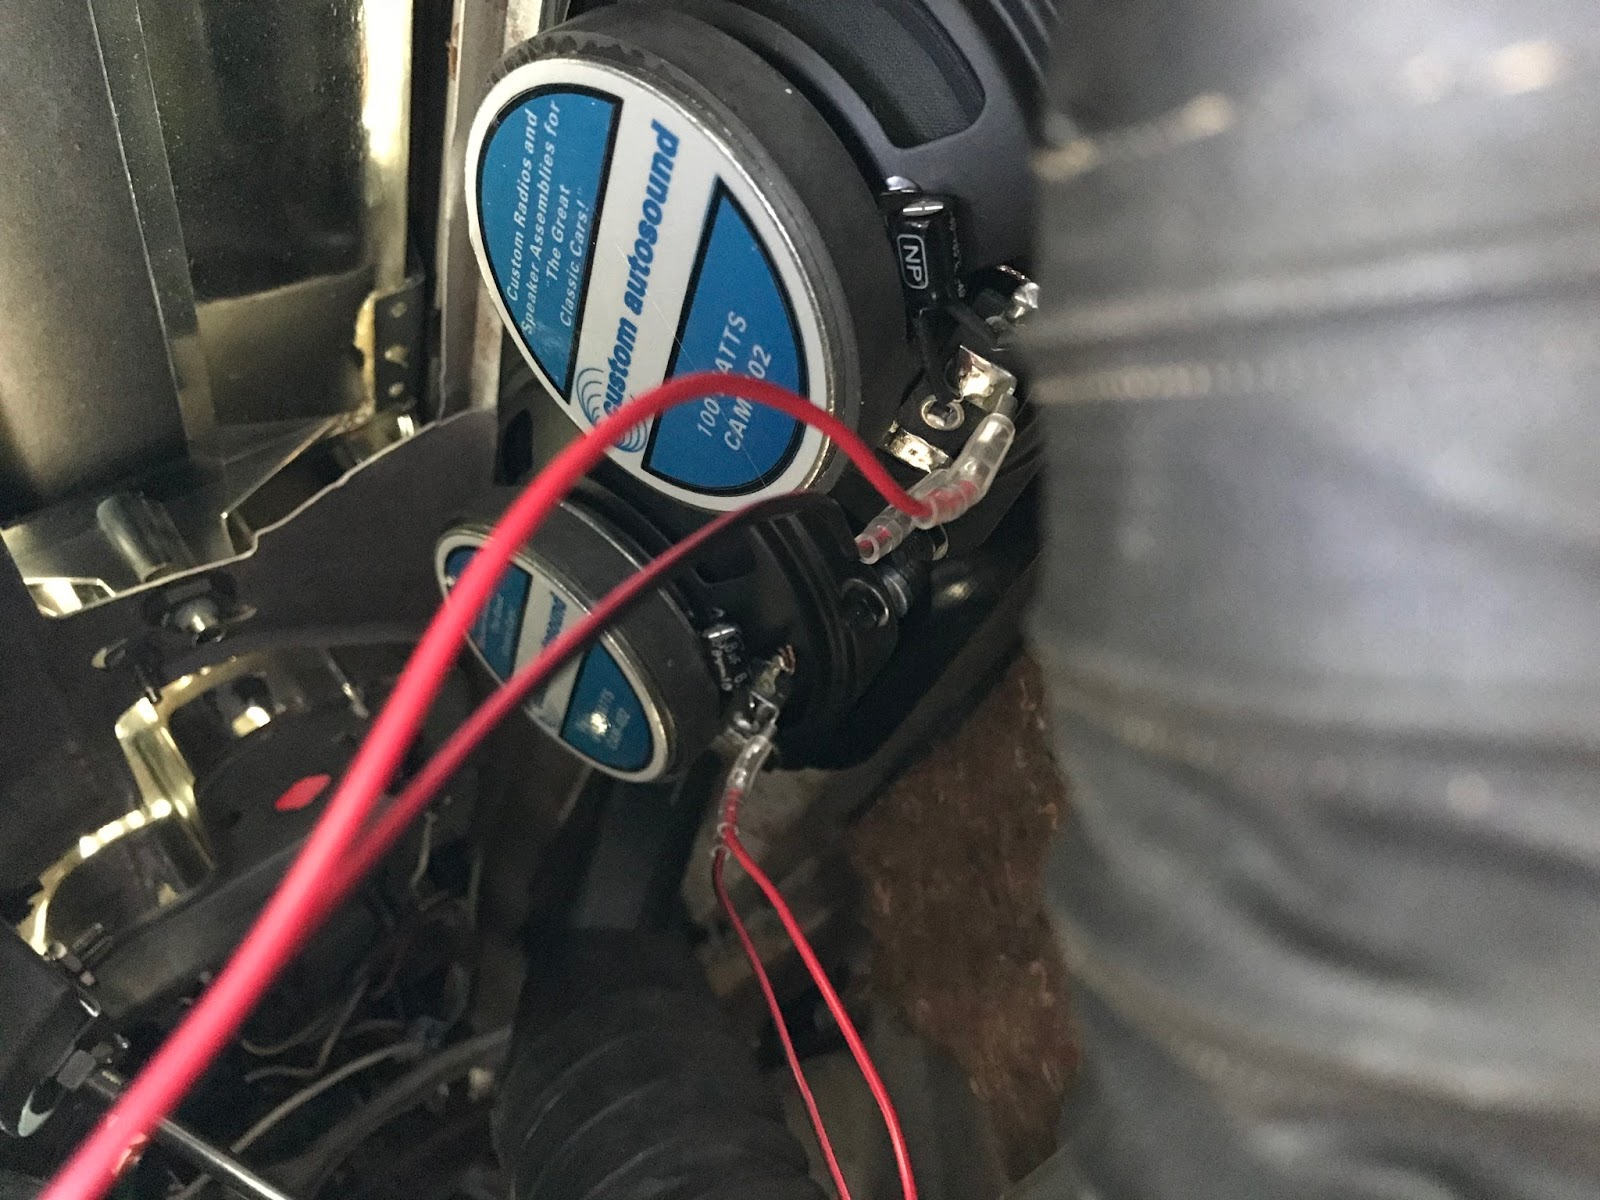
Today I installed a dash speaker with two channels and a more modern radio. The dash speaker fits in the same location as the original but it mounts to the upper dash area where the vent mounts are located. The fasteners that hold the vents in place are removed, dash speaker installed then install the fasteners.
The radio is a DJS-520(very cheap). But it has USB, SD, BT options as well as AM/FM. Temporarily I mounted the unit in the glovebox area. I had to remove the glovebox shell, and mounted the radio to the glovebox door using high strength velcro. I made two L brackets put velcro on them, put velcro on the radio sides where the L brackets will be in contact, and also put velcro on the glovebox door. Surprisingly, the velcro setup works well. Radio tunes in local FM stations and there is no static or interference. So I am looking into a more permanent setup.
Sunday, April 8, 2018
8 April 2018 - ignition issues
I picked up the two spark plugs today at the parts store. I gapped them to .044 and installed. I also removed and gapped the other six plugs to .044.
I noticed that the spark plug tips of all plugs was a white/grey color, which means the carb is set too lean. So I adjusted the idle mixture a little bit more rich. I'll monitor that over the next two days of driving and if need be, I'll go up on one size in jet size(stock for 0-1850S is 66).
I checked the MSD website for factory setup for an 8479 distributor. The default advance springs are supposed to be two heavy silver springs and a blue advance bushing. What I found was that two light blue advance springs were installed. I removed them and installed two heavy silver springs. I will see how the engine runs over the next couple of days
Subscribe to:
Posts (Atom)