Both rear seat side panels have been painted. They will be installed shortly.
While those panels were removed, I noticed that the floor and side areas of the back seat area need to be painted/rust removed.
I ordered two spray cans of Eastwoods rust encapsulator. I will be spraying areas that have signs of rust.
Tuesday, December 26, 2017
Saturday, December 16, 2017
16 December 2017 - Rear seat side panels
I have been considering changing the color of the interior from the off white/saddle color to a matte black, satin black or semi gloss black.
I settled on a flat black color. I am using the Dupli-Color, Vinyl and Fabric paint, HVP106 FLAT BLACK.
The temperature today was in the high 60's, low 70's so I painted the driver side rear seat panel.
If the temps are good tomorrow I will paint the passenger side.


I settled on a flat black color. I am using the Dupli-Color, Vinyl and Fabric paint, HVP106 FLAT BLACK.
The temperature today was in the high 60's, low 70's so I painted the driver side rear seat panel.
If the temps are good tomorrow I will paint the passenger side.


 |
| Passenger side rear panel before painting |
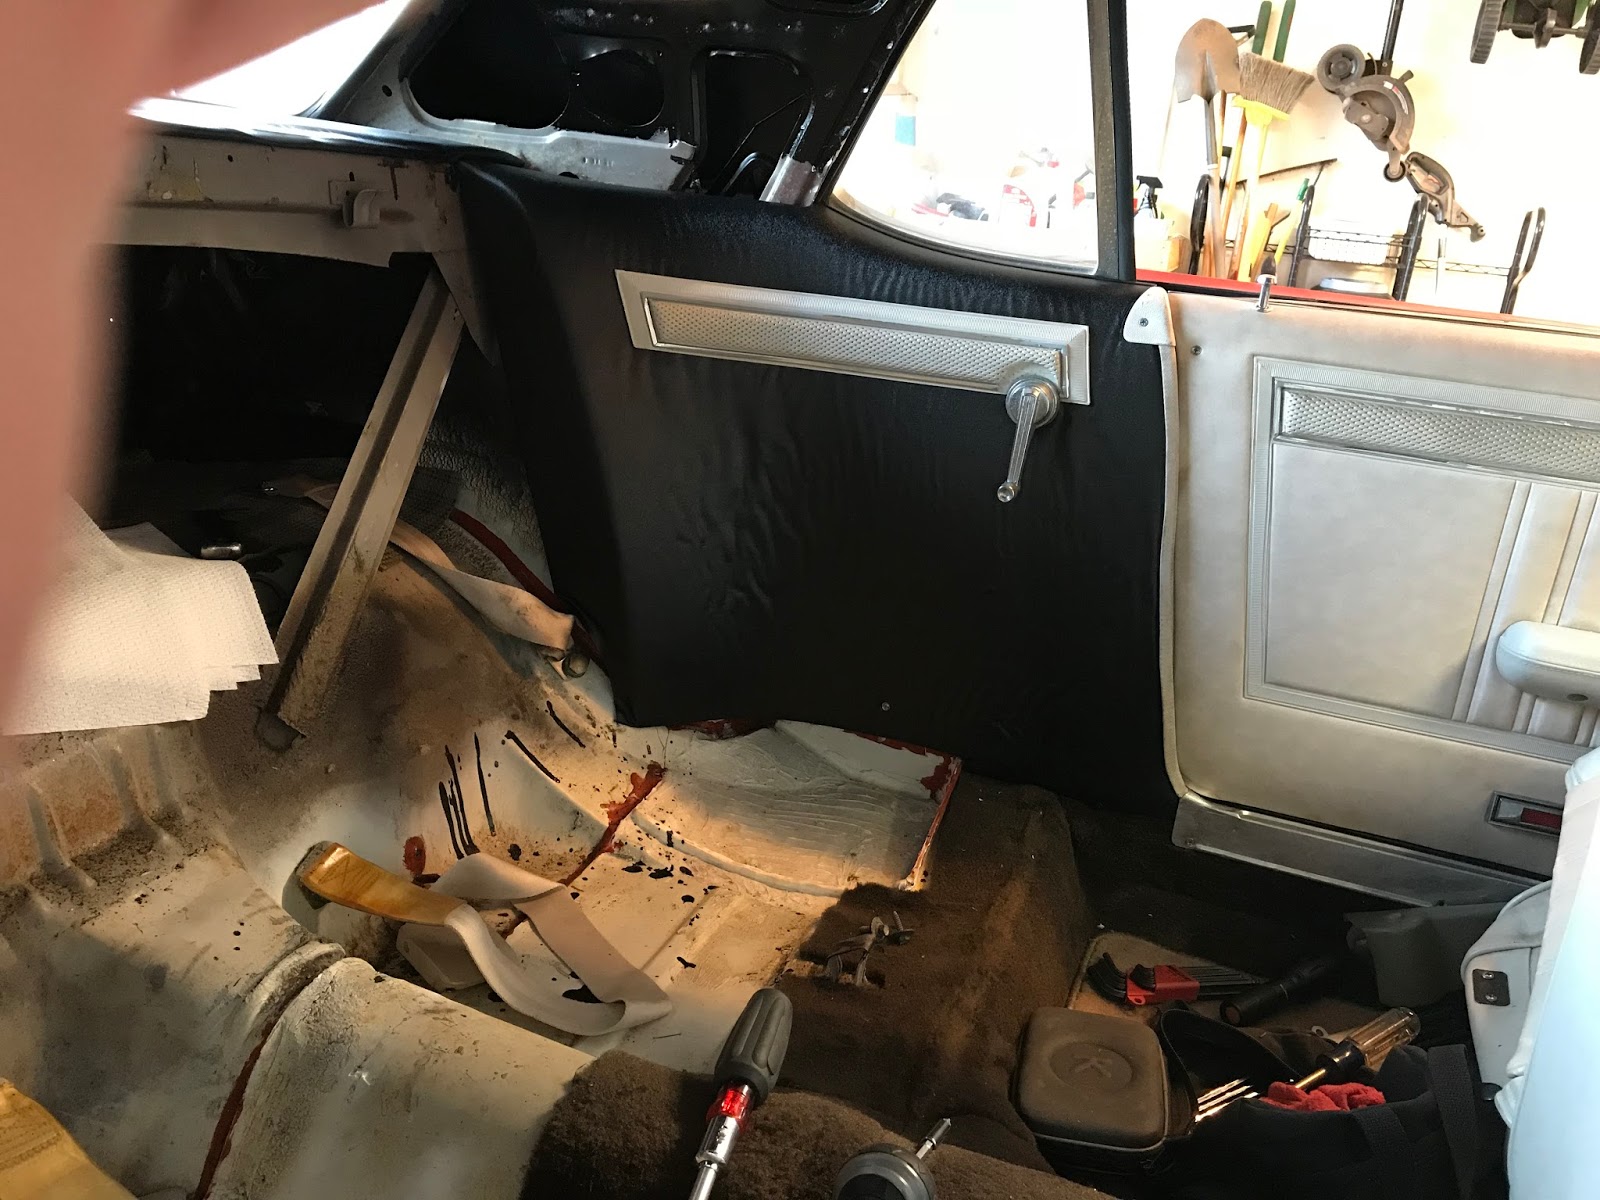 |
| Driver side rear panel after painting. the color looks very good to me! |

Sunday, December 3, 2017
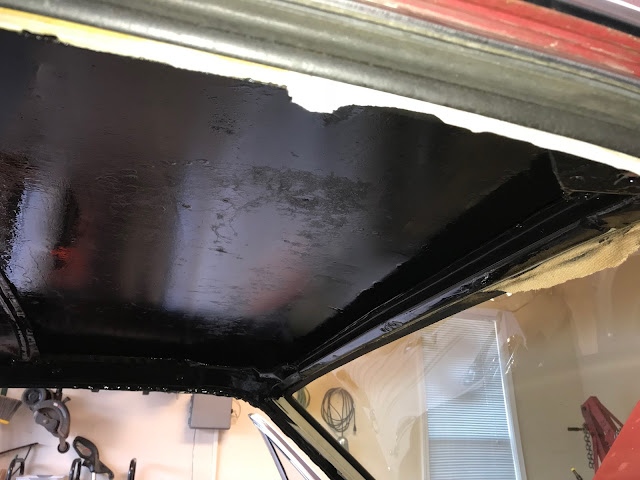
3 December 2017 - Corrosion Control - Inner Roof
For now it looks like the chassis saver is everywhere I need it. I will need to do some touch up painting around the rear side panels, as well as the overhead inner roof support.
The seats have been re-installed. I will let this coat of chassis saver cure for a few days(weather permitting) and do the touch up work,
The seats have been re-installed. I will let this coat of chassis saver cure for a few days(weather permitting) and do the touch up work,
Saturday, December 2, 2017
2 December - Front Bench Seat
In order for me to paint the inner roof and fore/after pillars, I removed the front and rear seats. While removing the front bench seat, the passenger side track literally fell apart.
The track uses two pieces of metal that have ball bearings and rollers. One end of the seat tracks roller and ball bearings fell out of the track. After gathering up the parts, I attempted to put the assembly back together. From what I've discovered it looks like this seat track has had this problem for awhile. I had noticed that the passenger side doesn't always slide/move properly.
While looking at the parts of the seat track, one of two ball bearings was missing. Which could explain why that track was difficult to move sometimes.
So I didnt have a 1/4" ball bearing handy but I did have one that close to that size. So I removed that remaining bearing and put two of the same kind in the metal clip slider with the roller. I greased everything and re-assembled. I have not tested it yet, since it needs to be in the car and that will probably be tomorrow after the chassis saver dries.
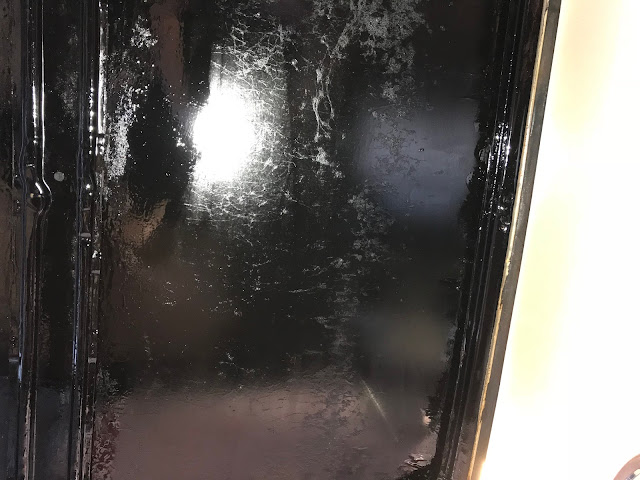
2 December 2017 - Corrosion Control - Inner Roof
Today I was able to paint a coat of chassis saver on the inside of the roof. I painted as much as I could and also painted the pillars fore and aft. Once all of that dries, I'll see if another coat is needed.





Tuesday, November 28, 2017
28 November 2017 - general stuff
Over the years I have collected a number of fasteners/bolts/nuts for the fenders and front grille assemblies.
I have been soaking that hardware in evapo-rust and or Krudd Kutter, so that the parts are rust free.
Currently I am in the process of seperating the hardware into storage bins.
I have a storage box that has alot of other bolts/fasteners/hardware that needs to be sorted/bagged
I have been soaking that hardware in evapo-rust and or Krudd Kutter, so that the parts are rust free.
Currently I am in the process of seperating the hardware into storage bins.
I have a storage box that has alot of other bolts/fasteners/hardware that needs to be sorted/bagged
 |
| The plan is to store the hardware from the fenders and front grille assemblies into these bins. |
 |
| I still need to remove the chrome grille from this headlight door |
 |
| These chrome pieces are in fair shape. The "chrome" coating is gone but the pieces themselves are in great shape. |
 |
| This is a vacuum solenoid used on 67 cougars. It works just fine, but will not be needed as I am removing all of the vacuum components to install an electric motor system. |
 |
| These are the headlight harness removed from the front grille assemblies I recently purchased |
 |
| These are some of the hardware from the passenger and driver side front grille assemblies I recently purchased |
Monday, November 27, 2017
27 November 2017 - reconditioning bolts/fasteners
Continued with cleaning up, and phoshate coating various bolts and fasteners that are used on the front grill assemblies of the 67 cougar.
It will take a week or so to soak the parts to remove rust and a few days after that to phosphate coat the parts.
It will take a week or so to soak the parts to remove rust and a few days after that to phosphate coat the parts.
Subscribe to:
Posts (Atom)