Search This Blog

Monday, July 31, 2017

31 July 2017 - Heater box

Today I started to put the heater box back together.  I found out that the replacement heater core did not fit in the heater box.  The inlet and outlet ports of the heater core were too close together.  So it would not fit inside the assembly.  Also the rubber seals do not fit the heater core.  I ended up returning the unit and going to a different auto parts store to order what I believe is the correct part.  Once I finally get the part I will assemble the heater box(hopefully that will be tomorrow).

The assembling requires installation of a seal kit for the heater box metal hardware first, then the metal hardware and then installation of the heater core.  Then the two halves of the heater box go together, and then installation of the blower motor.

Also I will be replacing the heater resistor module.

Currently the blower motor fan is soaking in Krudd Kutter Must for Rust.

Sunday, July 30, 2017

30 Juy 2017 - Heater box / splash shields

Painted all of the metal hardware of the heater box.  If it looks good, tomorrow I will assemble the heater box.  Otherwise I will re-paint the parts.

I started the process of re-installing the front fenders.  The fenders have two splash guards.  One piece mounts to the chassis and the other one mounts to the fender.  So I installed the splash guards and applied seam sealer where I could, I will check on that tomorrow as well.

Saturday, July 29, 2017

29 July 2017 - Heater box / undercoating

Continued with cleanup of the heater box metal hardware.  I removed all of the metal hardware from the heater box and I have been soaking the parts in Evapo-Rust.  Right now the only part left to soak in the Evapo-Rust is a door assembly and the heater blower fan.  The other parts have been prep'd and painted with rust converter/primer and are ready for topcoat.

I also cleaned up and painted the blower motor and the blower motor mounting plate.

I received the heater core rubber inserts and the blower motor resistor block and mounting hardware today.

Spayed a couple more coats of the undercoating on the outside cowl vent areas.  I think I am done with that now and will start putting the fenders, front facia and bumper back on the car.

I also used a rust converter paint on the inside of the cowl vent areas.  Tomorrow I might put a couple more light coats down and see how that looks.

Friday, July 28, 2017

28 July 2017 - Heater box

Still waiting for the heater core inserts.  I am still soaking the heater box metal hardware in Evapo-Rust. 

28 July 2017 - Undercoating

There is definitely a right and wrong way to spraying undercoating.

Do not try to apply it like its paint...bad things happen, undercoating goes everywhere you dont want it.

Seems that you do not overspray any areas, you spray an area but do not overlap like paint.  So knowing that now, I can do undercoating properly and it looks right.

I still have a couple more areas to spray the undercoating then I can start re-installing the fenders and front bumper.


Wednesday, July 26, 2017

26 July 2017 - seam sealer

Continued with applying seam sealer to the outer cowl vent areas.

Also worked on the heater box metal hardware by soaking/cleaning parts in Evapo-Rust

Tuesday, July 25, 2017

25 July 2017 - Heater Box

While I was waiting for the seam sealer to set/cure in the cowl vent areas, I took a closer look of the heater box.

 The heater was apparently leaking and the metal hardware of the heater box is rusted.  After taking everything apart I started the process of cleaning the metal hardware and soaking the parts in Evapo-rust.

I found out that the heater core did not have the rubber seals to hold it place in the heater box, so I ended up ordering those seals.  I also ordered a replacement blower motor resister assembly since I have everything in pieces

 I did order a seal kit for the heater box and also a plenum chamber.


 Reference images


25 July 2017 - seam sealer

Yesterday I started putting seam sealer on all the outside cowl vent areas.  I found out the seam sealer(Dynatron 550) starts getting tacky in 3-5 minutes after applying.  So I put sealer in various areas and only did one application.  It looks like doing multiple applications requires waiting overnight after each single application.


Sunday, July 23, 2017

23 July 2017 - Front Fenders & cowl vent and areas


Today I painted two coats of the Eastwood's rust encapsulator on the inside of the front fenders.

I also painted the outside areas of the cowl vents on both sides.

I am going to let everything dry for 24 hours and then I will begin the process of applying seam seal where ever I can.  If the seam sealer sticks to the recently coated areas like it should, I am hoping this will resolve the interior leaks.


Initially I painted around the front fender splash guard and did a couple of coats.


I eventually went ahead and removed those splash guards and painted as much as I could into the front fender areas


Saturday, July 22, 2017

22 July 2017 - Driver and Passenger cowl vent areas


Today I painted another coat of Eastwood rust encapsulator on the passenger side outside cowl vent area and I also painted a coat on the inside of the passenger side cowl vent.

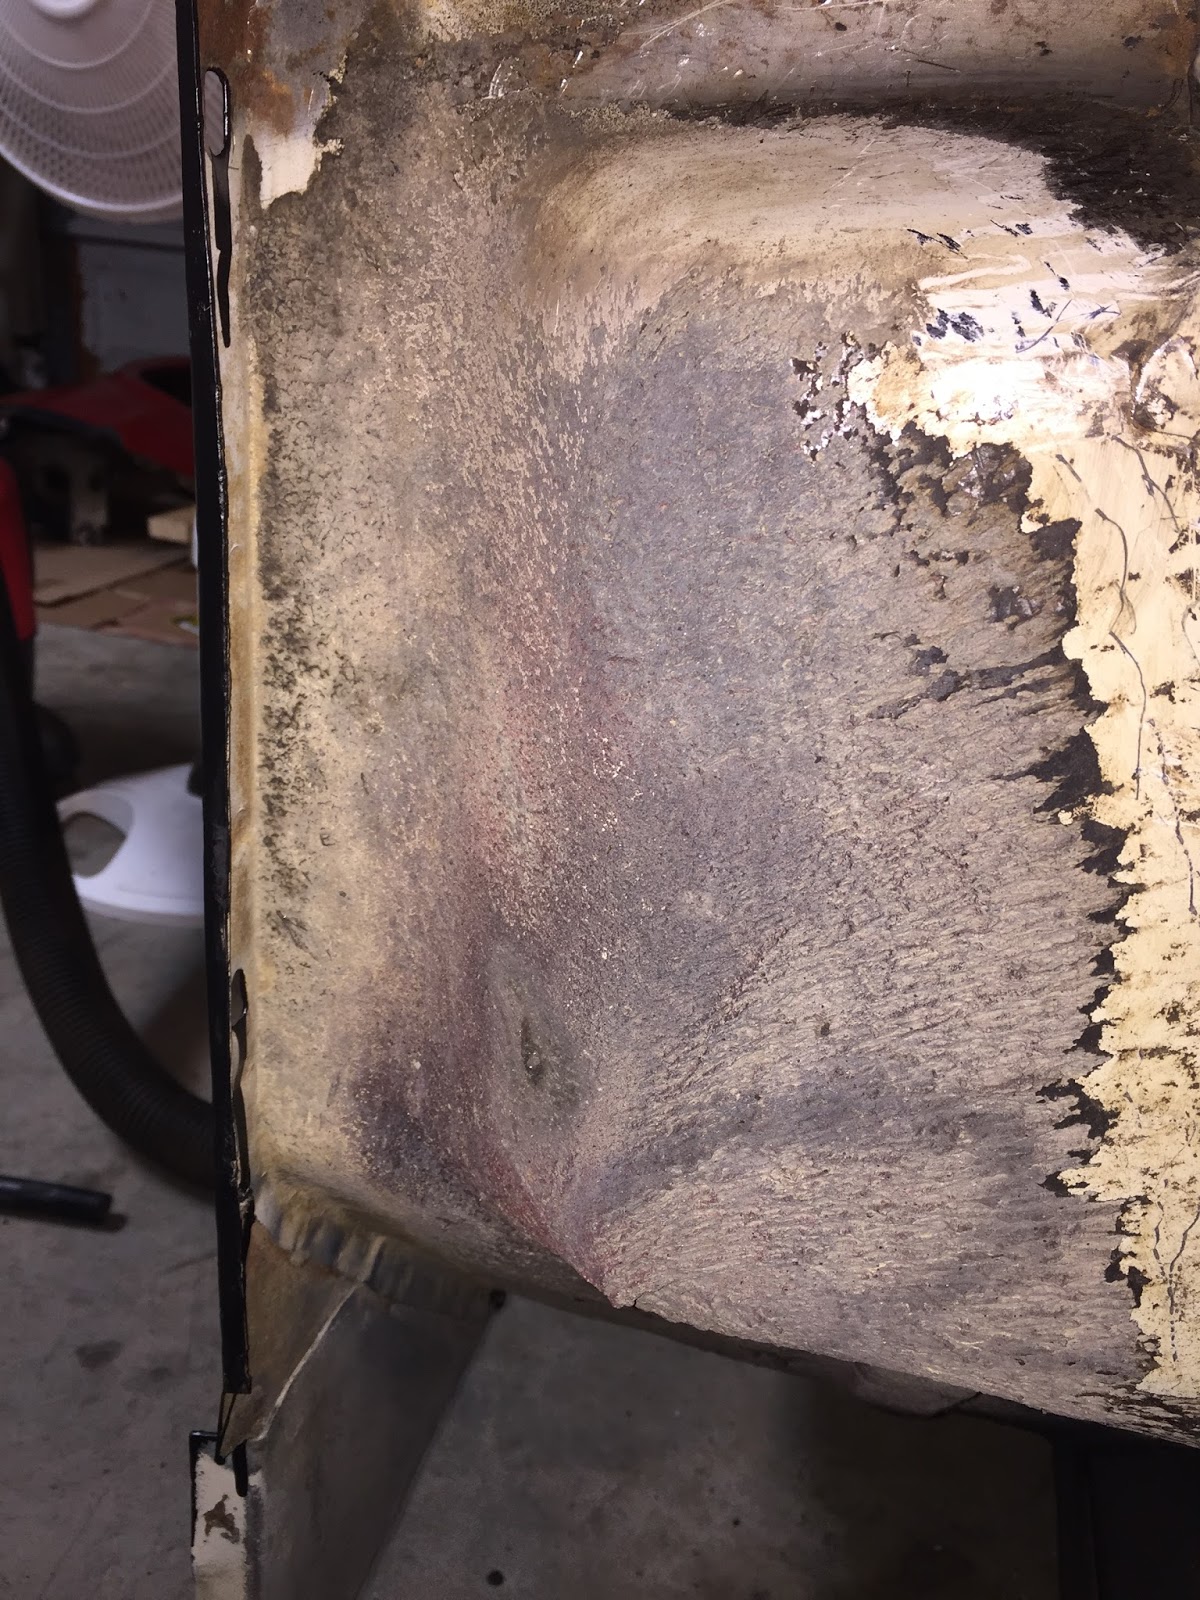
While that was drying I started cleanup of the driver side cowl vent area outside.  I removed all of the seal sealer and tar coating at the seams and edges of the cowl vent outside areas.  Next step is to clean/scape/vacuume the driver side cowl vent areas.  I need to get that as clean as possible so that I can paint seveal coats of the rust encapsulator.

I painted a coat of rust encapsulator on the driver side cowl vent outside area.  I also decided to go ahead and use the rattle can of rust encapsulator and spray the cowl vents from inside the floorboard areas.  I used a flexible spraying extension hose for the rattle can so that I could spray all around the vents as much as possible.

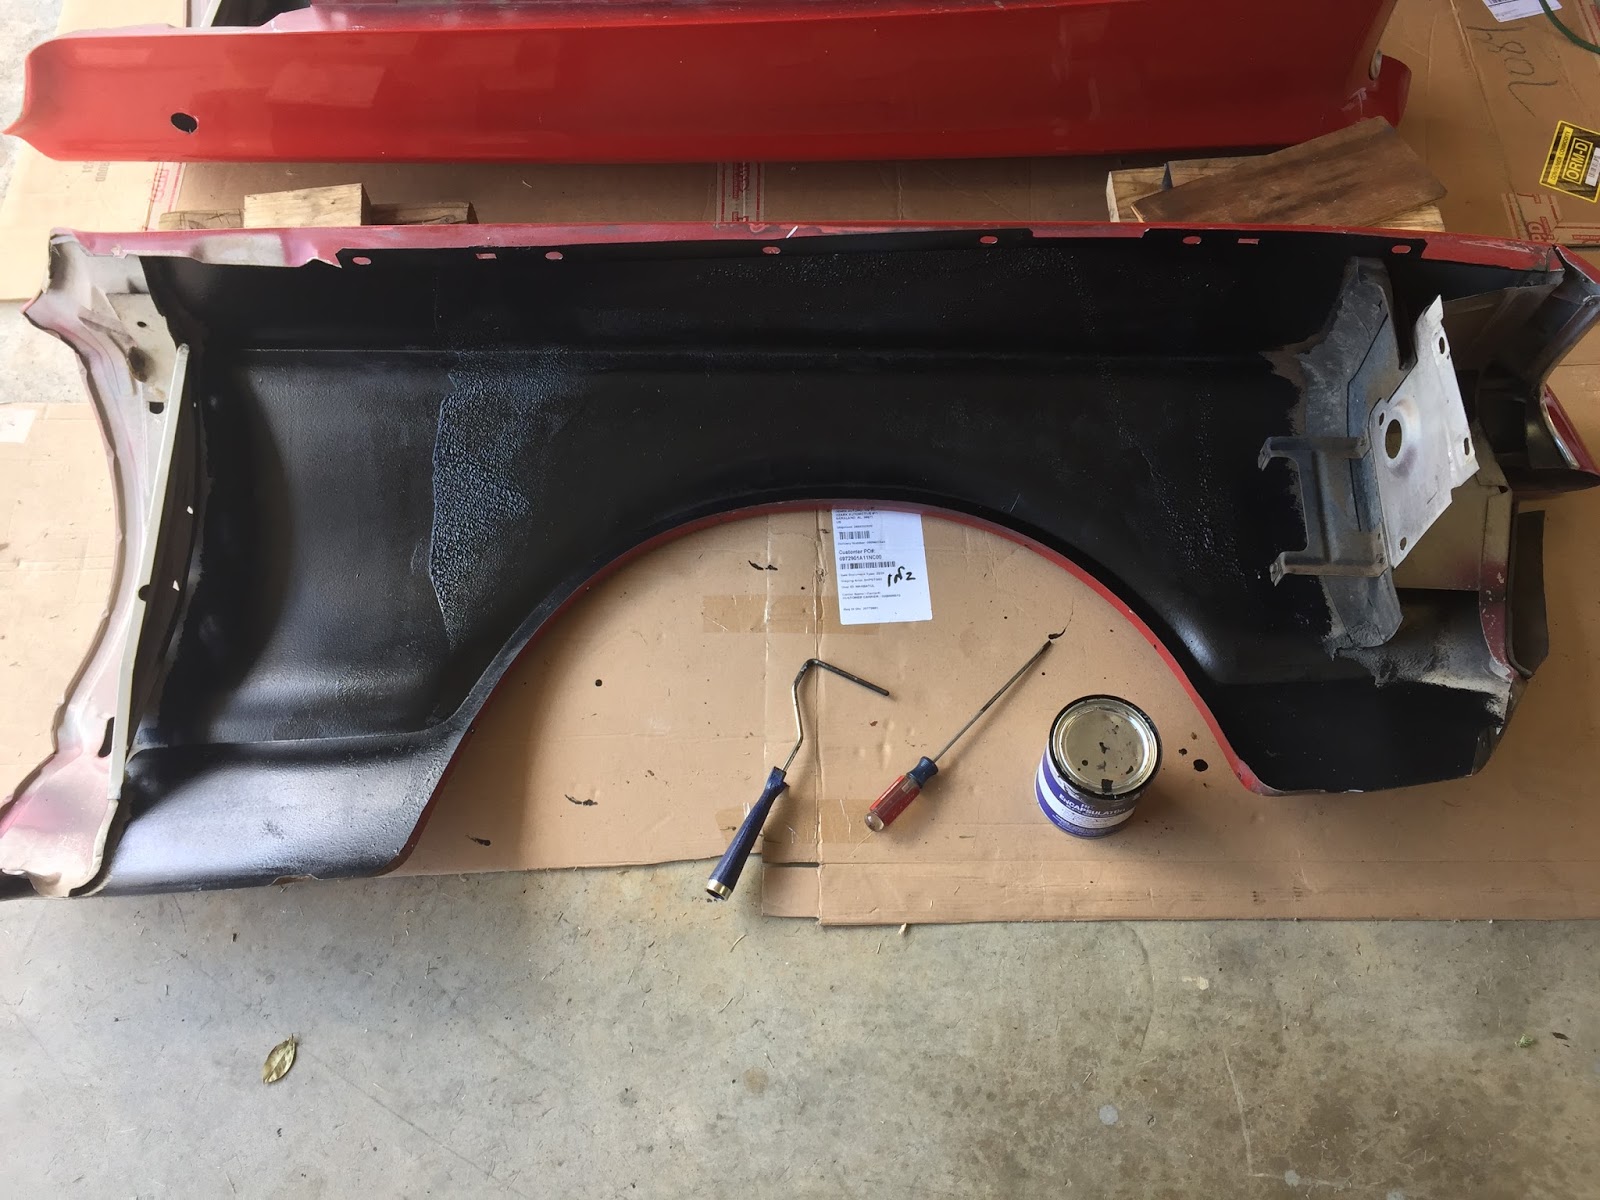
While waiting for the rust encapsulator to dry, I cleaned both front fenders and prepared them for painting a couple of coats of rust encapsulator and then under coating.

The rust encapsulator is still drying, I'll wait untill tomorrow and hopefully everything will be dry.


Wednesday, July 19, 2017

19 July 2017 - passenger side - cowl vent - outside area

I worked on cleaning up and around the cowl vent from the inside of the car.  I am trying to remove all of the debris that has accumulated over time.  I had to vacuume the debris from the outside where the drain is located.  I also had to move the debris from around the cowl vent from the inside then vacuume from the outside.  I did try and vacuume from the inside a couple of times.

I decided to go ahead and put a coat of Eastwood's rust encapsulator on the outside areas of the vent area.